Build a Sliding Overlay
In this section we will be focusing on building a sliding overlay that will serve as the unlock animation for the phone. This will be activated by pushing the home button.
By the end of this section, you should have a basic understanding of layering by using the z-index and how to animate a sliding motion by removing a class. These are all fairly easy concepts that can add a lot of creativity and flair to a project.
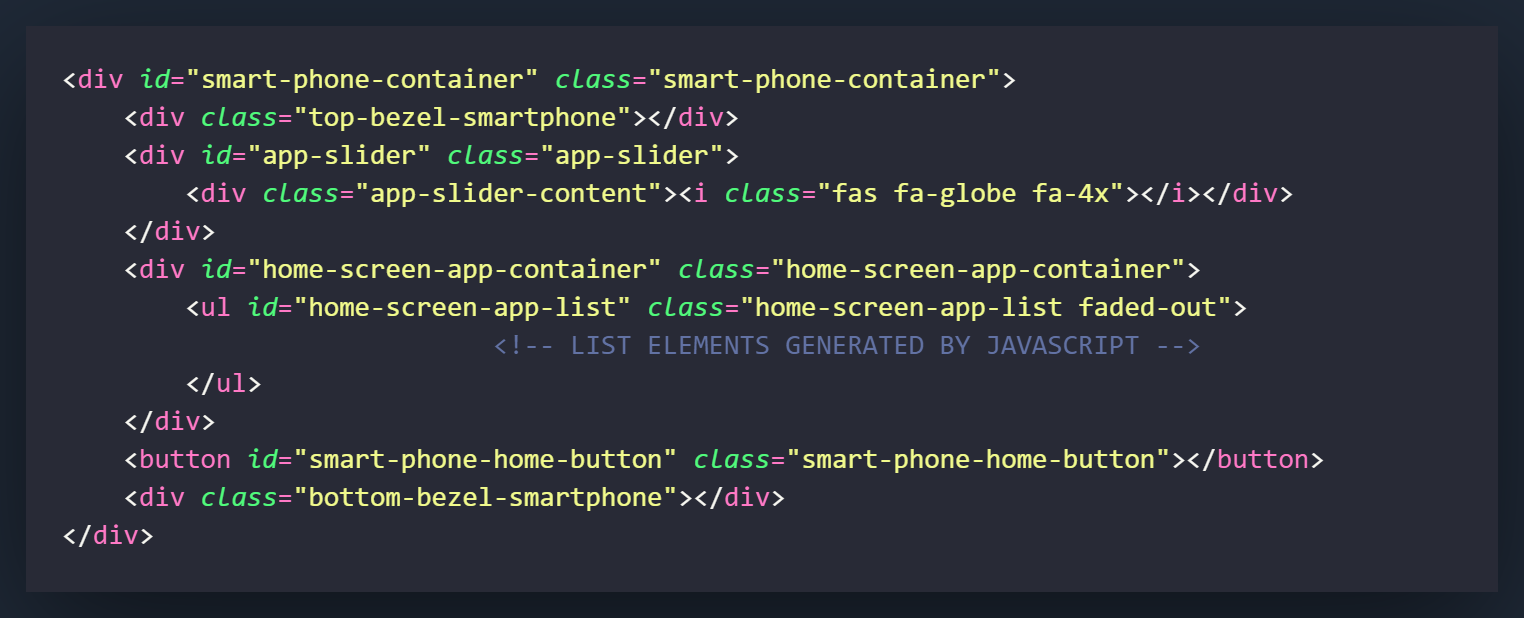
The first thing we will create is the top-bezel-smartphone div. This will be the top part of the phone that doesn't serve a purpose with the screen but will be used to sandwich the app slider with the smart-phone-container div.
Now we will create the app-slider div. This will be the section of the screen that will move when you unlock the phone by pushing the home button.
Inside the app-slider div, we will create a div for our app-content. This div will be what appears on the lock screen. In my example I used a font-awesome icon of a globe but you can put anything you want here.
The final thing we need to add in the HTML is the bottom-bezel div. Like the top-bezel, this will sandwich the app-slider with the smart-phone-container to create a better screen-like effect.
bottom-bezel-smartphone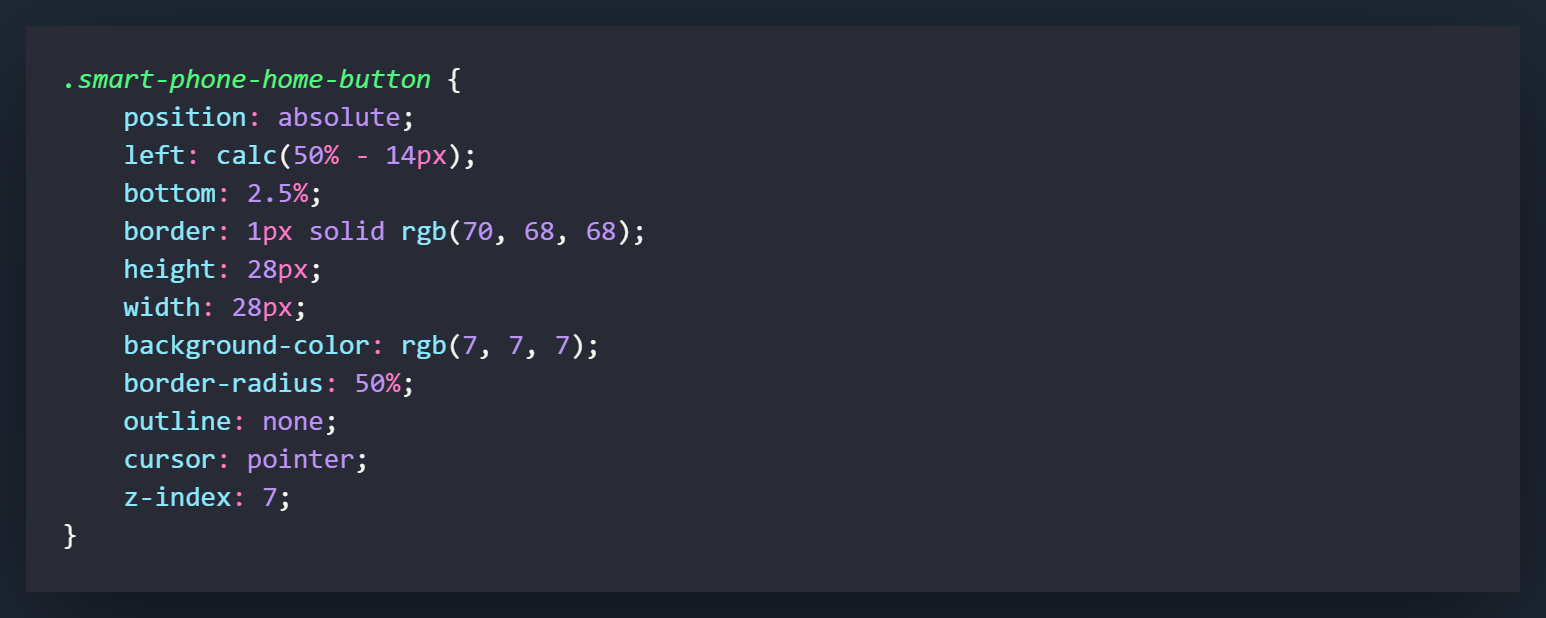
In the .smart-phone-home-button class, we are going to make a few changes from what we had initially.
The first change will be to change the background-color of the button to match the slightly more gray color we used on the top and bottom bezel.
Next we will set the z-index of the button to 7, so that it always on top. As a physical component on the phone, nothing should ever really layer over top of it.
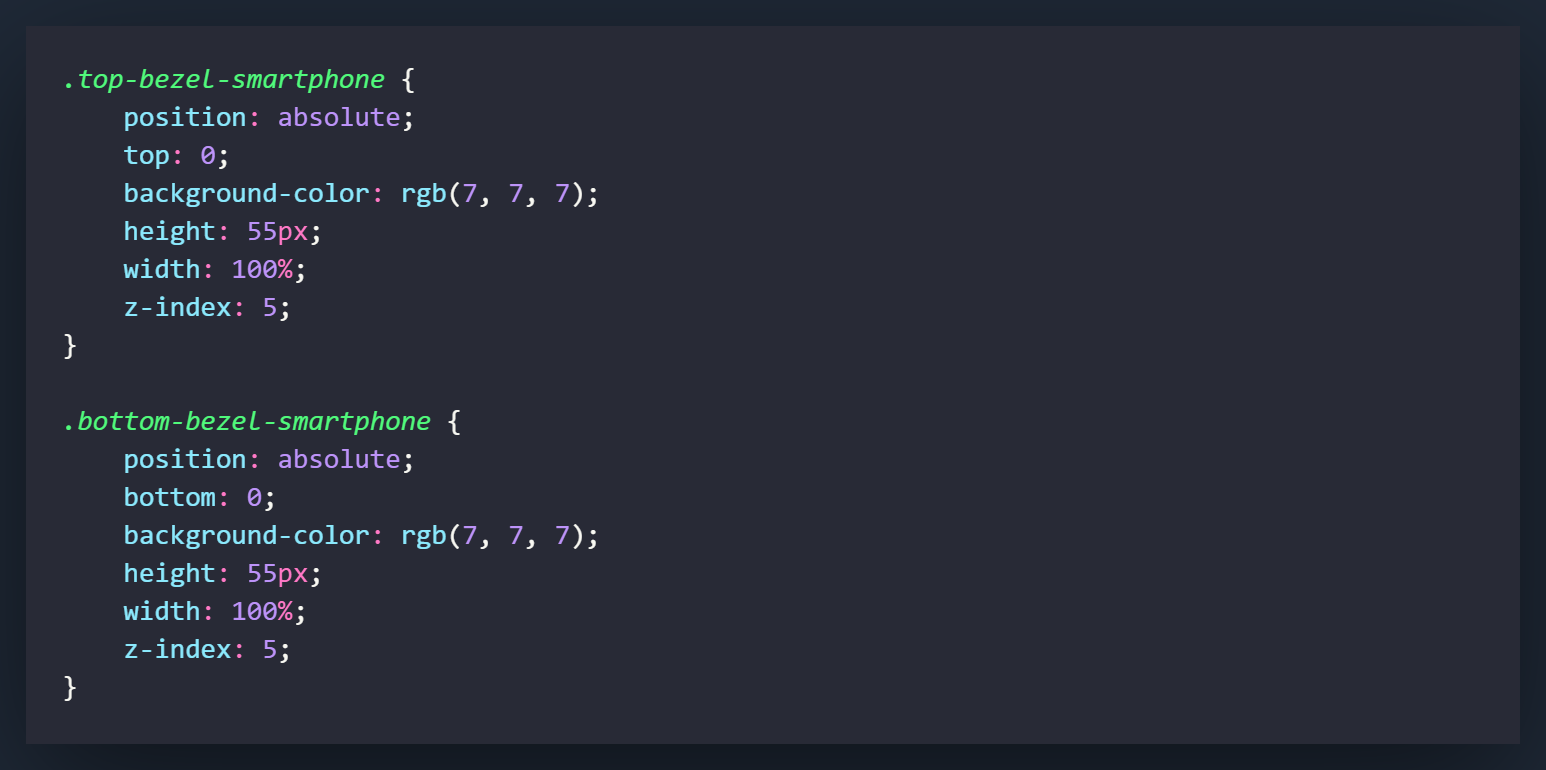
Now we will style the top and bottom bezel classes. Most of it involves styling except for the z-index. We will set that to 5 so it sits below the button but over top of everything that appears on the screen.
As long as nothing on our screen is set to a z-index of more than 5, we should not have anything layer over top of the bezels.

For the .app-slider class we will have to add a few key things to make it functional. First set the the position to absolute so we can freely place the div where we would like.
The right setting is what we need to set to make the div slide when we add the class of .opened in the next class setting. This div will sit at a right position of 0% which is as far right as it can, and then when we add the .opened class it will slide to the right by -100%. Meaning it will slide out of view.
The transition setting is what will set how the changing of the right value will appear. If we didn't add the transition it would just instantly go to the -100% right position. With this setting, it will slide to the position over the span of 0.5 seconds.
The z-index setting for the .app-slider is 3, which will place it between .smart-phone-container (z-index of 0) and the top/bottom bezels (z-index of 5).
The .app-slider.opened class will be what happens when the class of .opened is added to the .app-slider class. This is right position that the div will slide to when it is added.
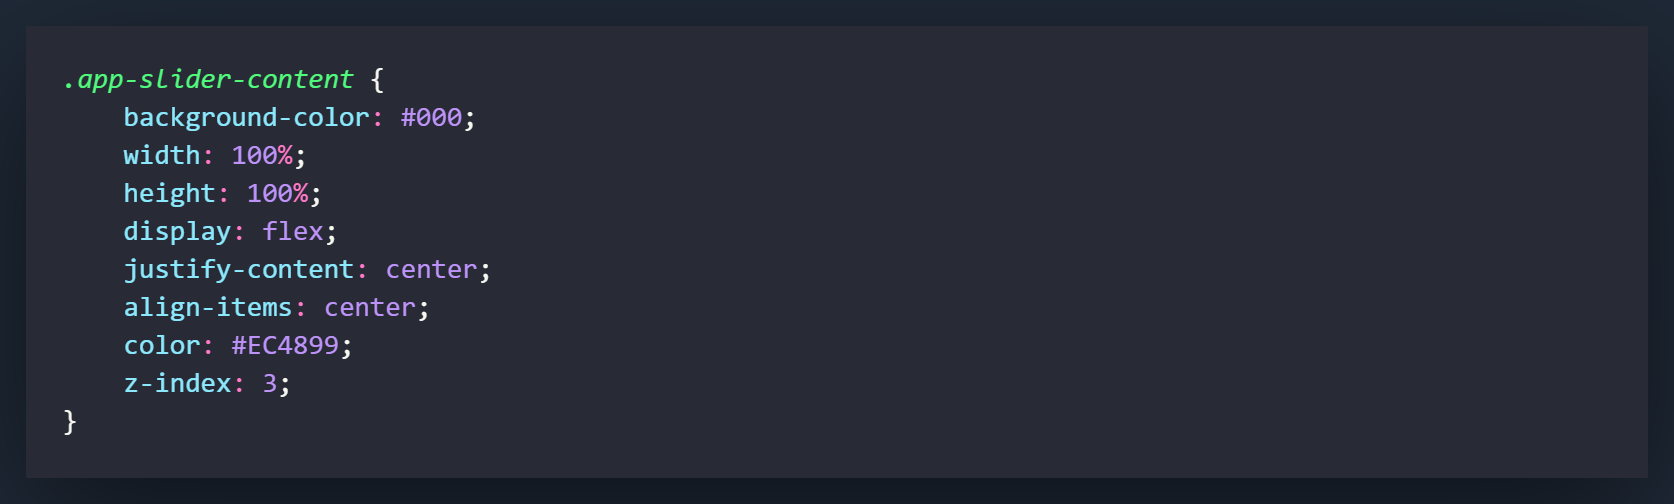
The .app-slider-content will be what styles are applied to the content of the sliding div. Everything is pretty much used for styling and alignment with exception of the z-index. We will set this to the same z-index as the .app-slider div (3).
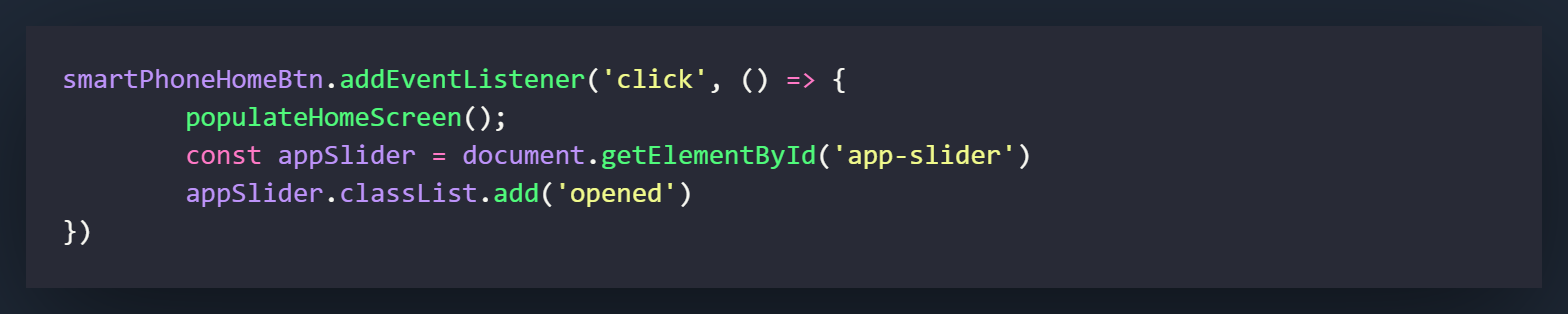
The JavaScript for this section is very simple and only requires us to add the class of opened to the app-slider element.
We will be adding the code for this to the 'click' eventListener we created on the smartPhoneHomeBtn variable in the previous section.
The first thing we will do is create a variable called appSlider, that we will obtain by using getElementById on 'app-slider.' This is the same element that we styled under the .app-slider class, but since we assigned an ID to it in the HTML, we can use that for the variable.
Now we will add the class of .opened to the appSlider variable.
Now when you click the button, the appSlider div should slide to the right by -100% of the width of the div. On a regular smartphone, pressing the button again will not lock the screen, so this will be set as the only function for the time being.